Step-by-Step
Instructions

With the help of individual buttons, you can easily try Axiosim out.
A yellow tool tip explains the function of the elements by hoovering the mouse on them.

Green circle = Patient
Orange circle = Articulator

The following parameters can be set *

* depending on license

1.

Cut out - Axis error position - 01

Axis error in position and distance (between patient and articulator)

2.

Cut out - 02 - Display - 02

Here you can turn on and off the different guide lines and reference planes.

(axis-orbital-plane, Frankfurt horizontal, camper plane, …)

3.

Cut out - 03 - Patient Rotation Radius - 03

Rotation distance between patient axis and occlusal contact points (incisor & molar)

4.

Cut out - 03 - Angle of the occlusal plane - 04

Modify the angle of the occlusion plane to the patient plane

5.

Cut out - 04 - Occlusal plane inclination - 05

The inclination of the occlusion plane to the patient plane

6.

Cut out - 03 - Incisal guidance - 06

Change the angle of the incisal guidance

7.

Cut out - 03 - Molar cusp inclination - 07

Modify the molar cusp angle

8.

Cut out - 03 - Occlusion size - 08

Distance between anterior and molar contact

9.

Cut out - 03 - Anterior centric record thickness - 09

Change the thickness of the bite register

General use

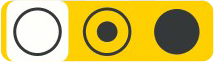
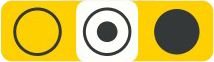
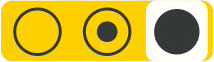
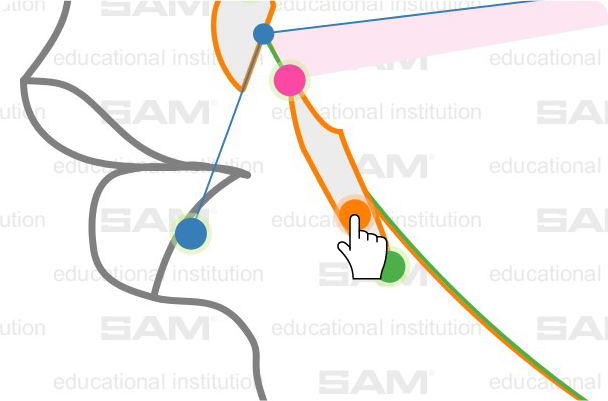
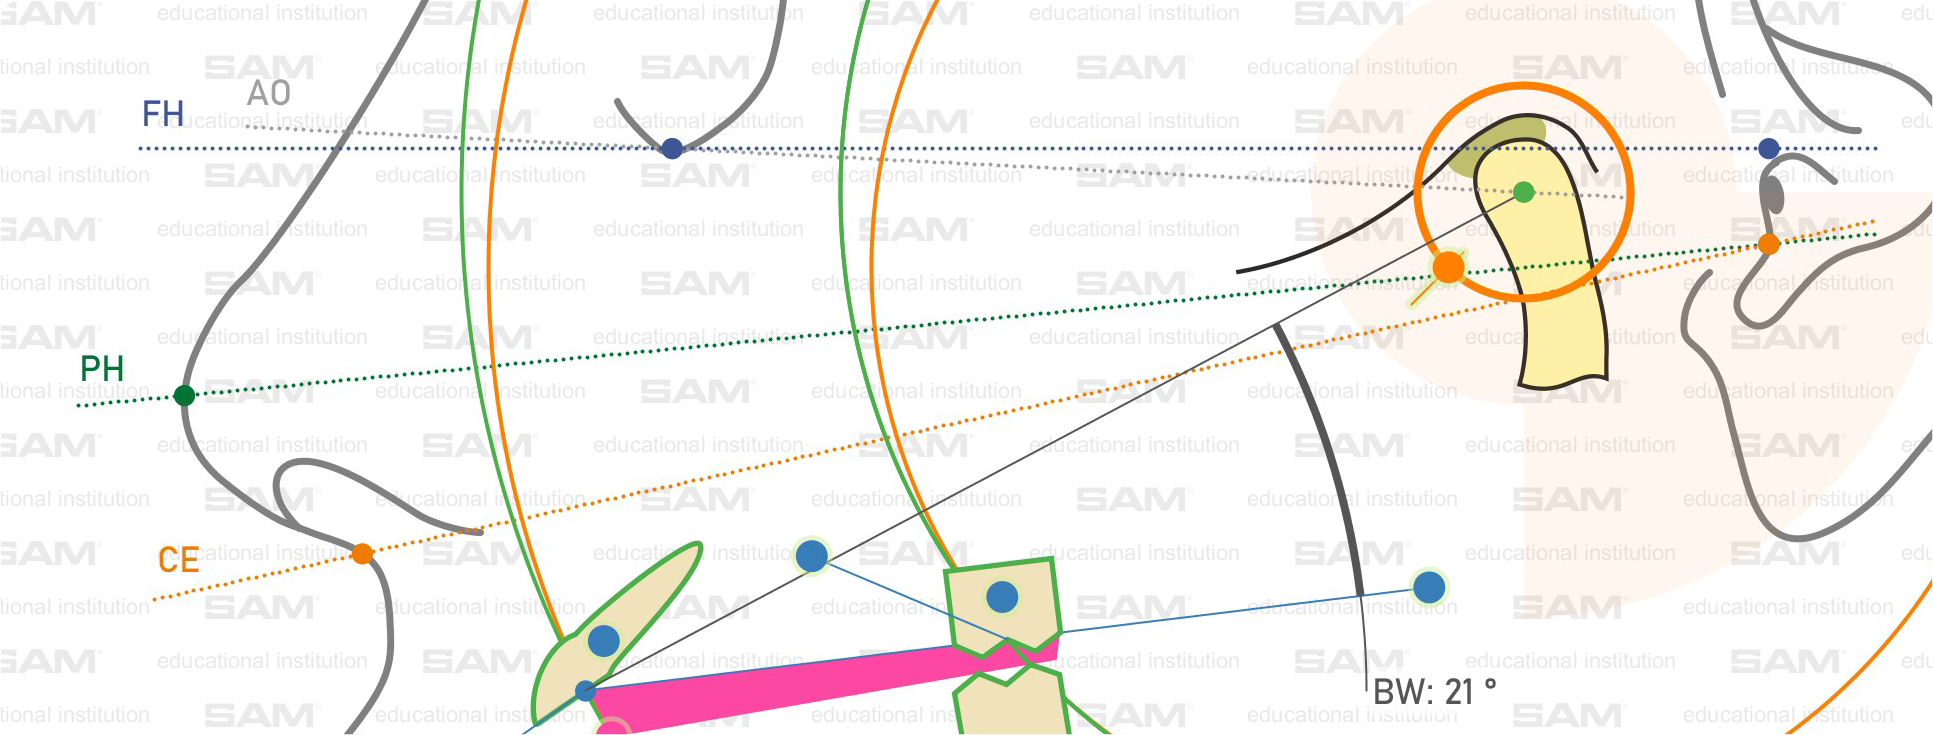
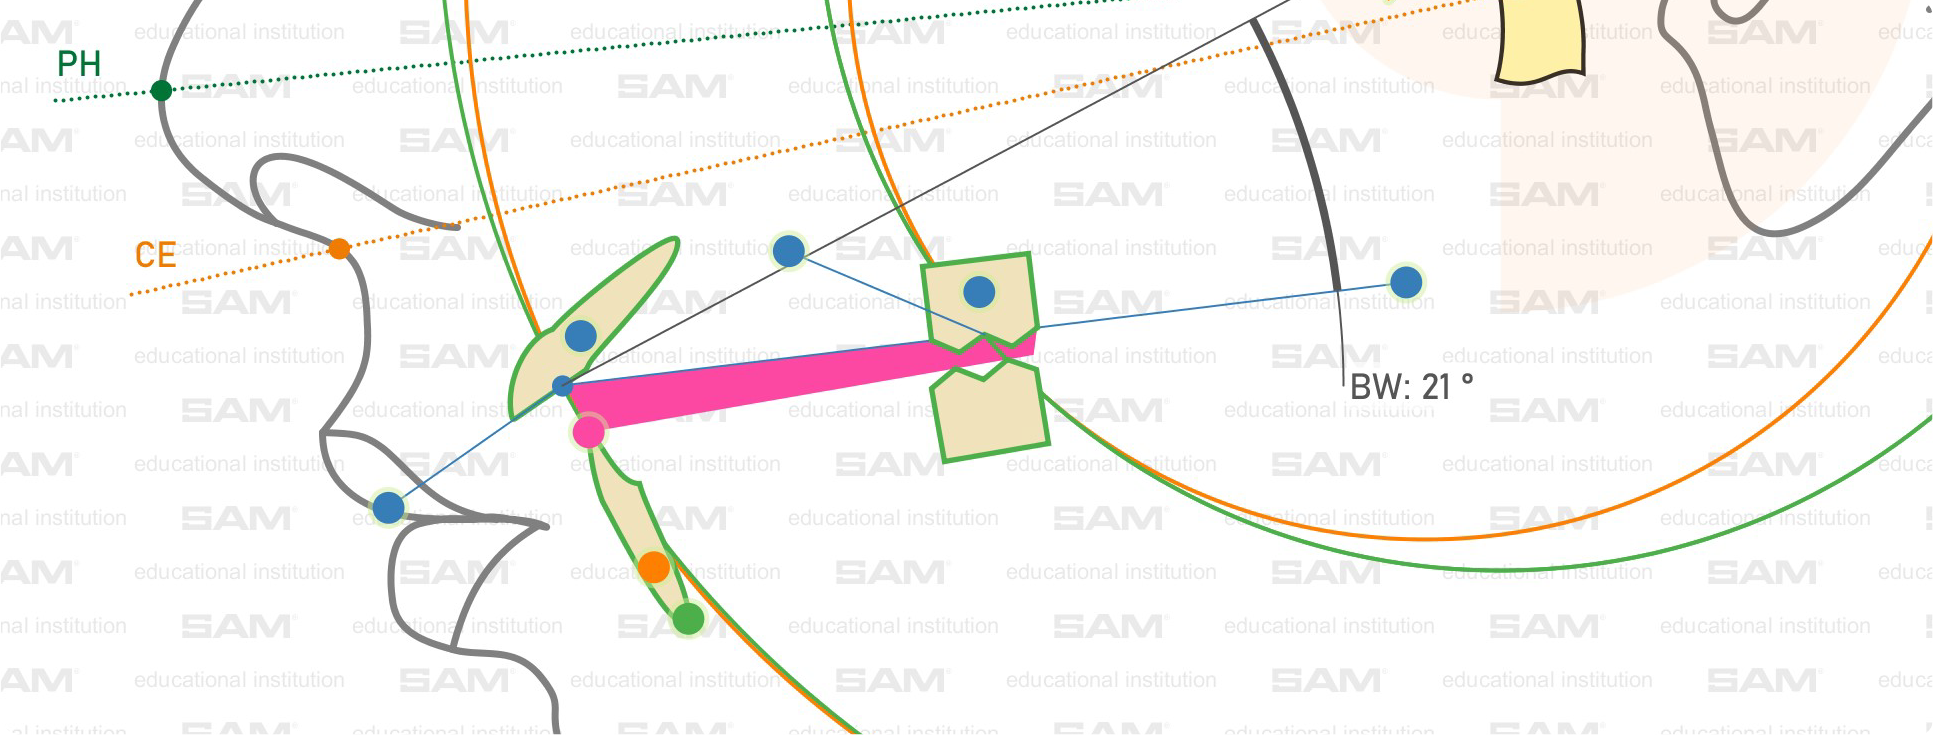
Go with the cursorfinger on one of the coloured dots . Related information will be shown.
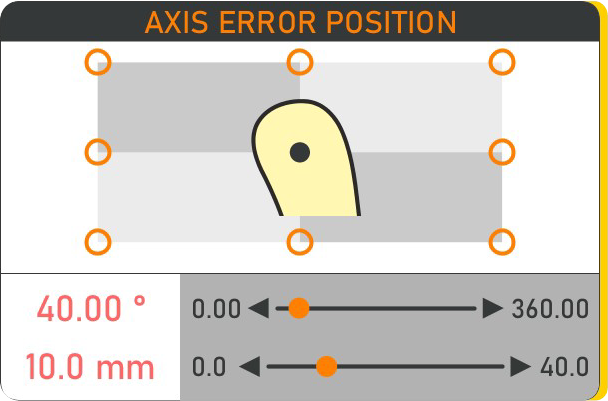
If a numeric information is shown at the dot, you can move that dot and the position as well as the numbers will change.

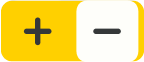
But you can also use the arrows on the slider in the information box.
The full version allows you also to type in the number / value.

Buttons & functions

Save the situation

Open a situation

Export the situation as PDF

With the zoom, you have two fixed positions: the big overview
(full rotation circle) or the detailed close-up (nose to ear).

Reset everything

Hide tooltips

Hoover on elements to show tooltips

Tooltips are always on

Language switcher EN/DE

Install new license key

Give us a feedback

Legal information about the software

Patient mode Teeth have a green outline, when you activate the orange dot and the condylar housing as well as the articulator condylar ball are shown

Articulator mode Teeth have an orange outline, when you activate the orange dot and the condylar housing as well as the articulator condylar ball are shown

How to use

Step 1

AEP – Articulator-Axis Error Position

Select the direction of articulator hinge axis related to the real patient hinge axis. Choose a point or set the individual number by typing the number or moving the ruler.

Now set the distance of the error between the articulator Hinge Axis and the real patient hinge axis.
Basic versions only allow to move the orange dots in the main picture with the mouse. Press the left mouse, hold and move around in a circle.

In this example, we use:

40,00°
10,0 mm

Step 2

Show additional information

Very beneficial in the education, such as:

  • Vector fields
    rotation arrows around hinge axis

  • Balkwill Angle
    difference between bonwill triangle and occlusion plane

  • Axis-Orbital Plane
    line thru lower orbita and kinematic TMJ hinge axis

  • Frankfurt Horizontal Plane
    line thru lower orbita and porion

  • Patient Horizontal Plane
    line thru tip of the nose and Tragus (Meatus acusticus externus)

  • Camper Plane
    line thru spina nasalis and Porus acusticus externus

Step 3

PRR – Patient Rotation Radius

Distance between kinematic TMJ Hinge Axis and contact of lower incisal edge on maxilla palatinal incisal surface
In this example we use:

100 mm

Step 4

AOP – Angulation of Bonwill Triangle (Hinge Axis – incisor contact)

In this example we use:

28,0°